

TypingDNA Verify - A New Way to Authenticate Users


Two-factor authentication (2FA) is a security process in which users provide two authentication factors to verify themselves.
If you think I am referring to the traditional SMS and Email 2FA methods from what you read above, you are wrong. I am actually referring to a more fascinating technology known as typing biometrics. Believe it or not, your typing behavior is unique enough to act as a substitute for traditional second factors.
TypingDNA, a company that provides a free authentication API & managed verification solutions for developers, is a leader in this space - and it’s simple to get started. As the curious developer that I am, I gave TypingDNA Verify a try, and I was impressed at the way it was able to verify me through the way I typed.
In this article, I will tell you everything you need to know about the fascinating TypingDNA Verify and how to use it.
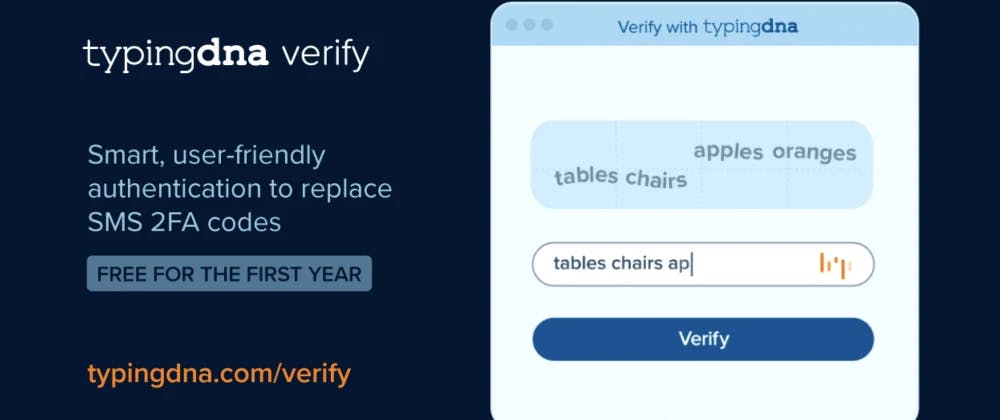
So, what exactly is TypingDNA Verify?
TypingDNA Verify relies on a state-of-the-art authentication engine using AI-based algorithms to verify typing patterns and select the best key phrases that enable higher matching accuracy on short texts.
This means that your end-users will have to prove their identity by typing generated texts, only deferring to Root of Trust channels (SMS & Email) when strictly necessary.
While SMS OTP’s revolutionized the security best practices decades ago, the method has reached its limits, especially in the fast-paced world that we now live in and tech industries that value good user experience.
The interesting thing about TypingDNA Verify is that your users can be authenticated without having to search for their phone to see the SMS OTP or use a physical token. Why? That's because users can't forget their fingers or typing behavior behind. 😉

With TypingDNA Verify, you can:
- Recognize trusted users through the way they type.
- Minimize the user's effort and friction while producing a visible sense of protection.
- Catch fraudsters instantly because a true/false match response will be returned instantly and so much more!
Most importantly, the chances of a security break are very slim because your typing pattern is unique to only you!
At the time of this writing, TypingDNA Verify can only be integrated into a website. However, TypingDNA's Authentication API can be integrated into both a website and mobile application.
Using TypingDNA Verify on your website
Now that you understand what TypingDNA Verify offers, follow the steps below to integrate it on a website.
Step 1: Create an account
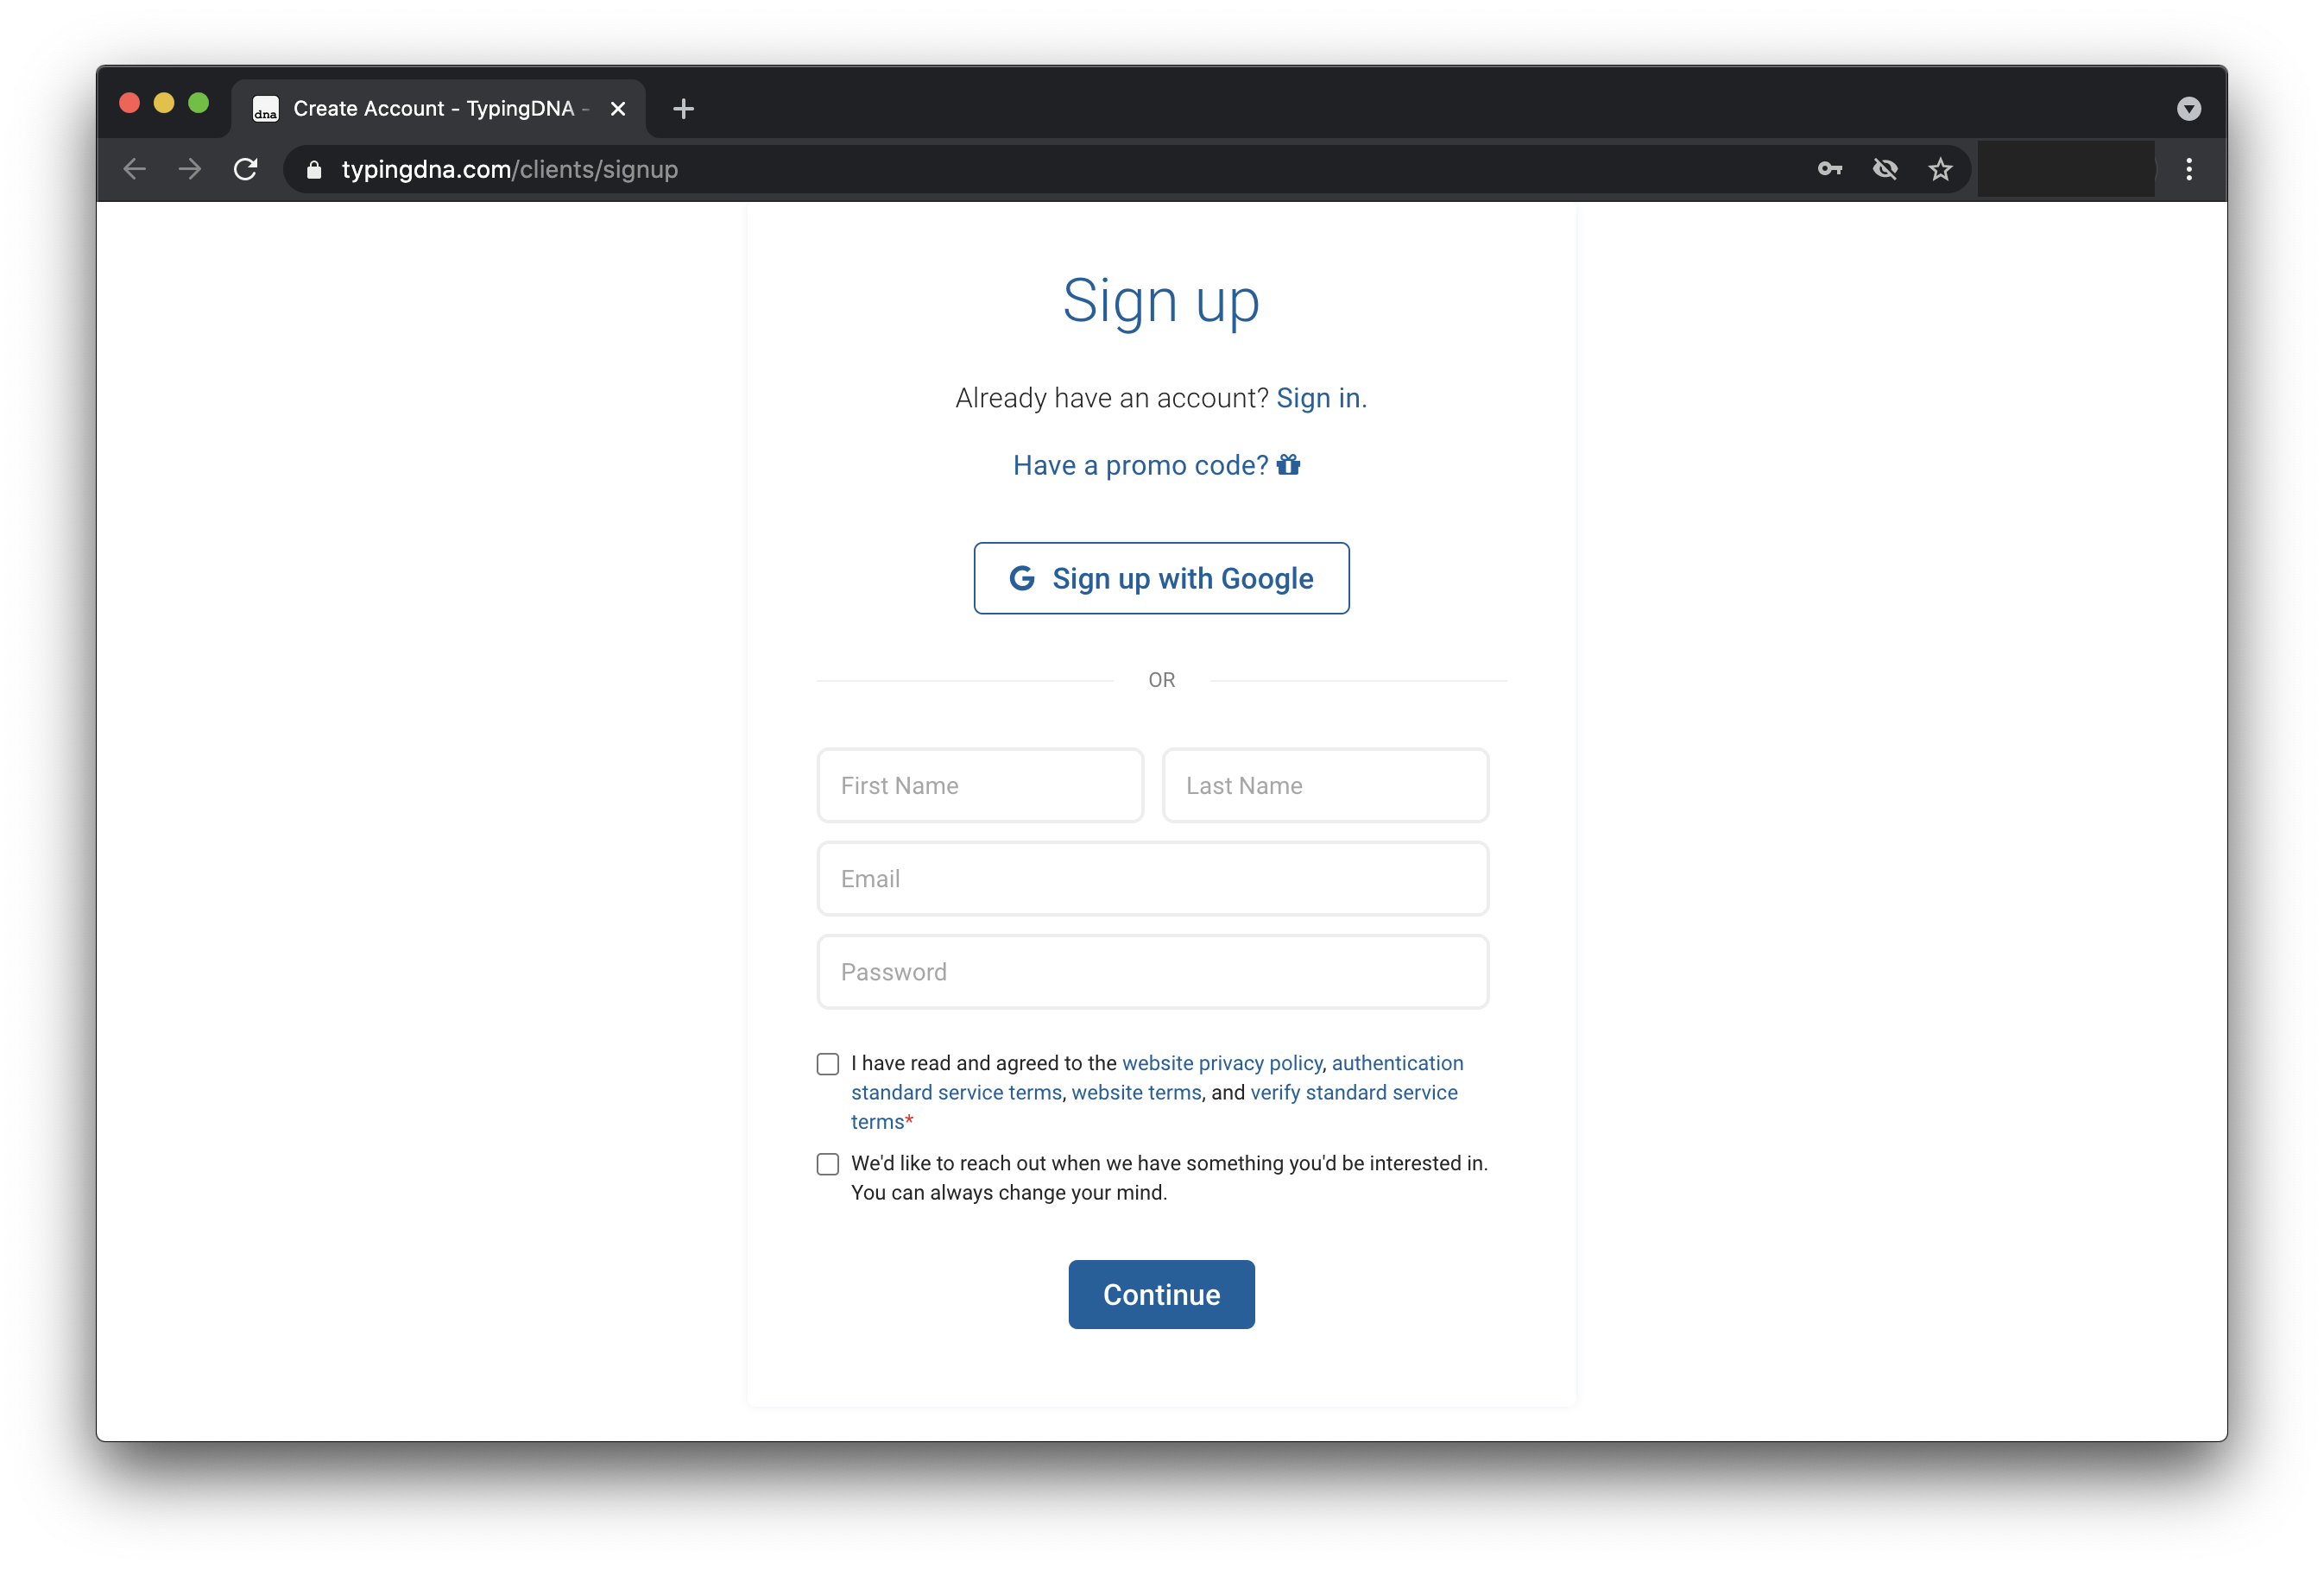
Go to TypingDNA Verify and click on the Sign up to integrate Verify button.
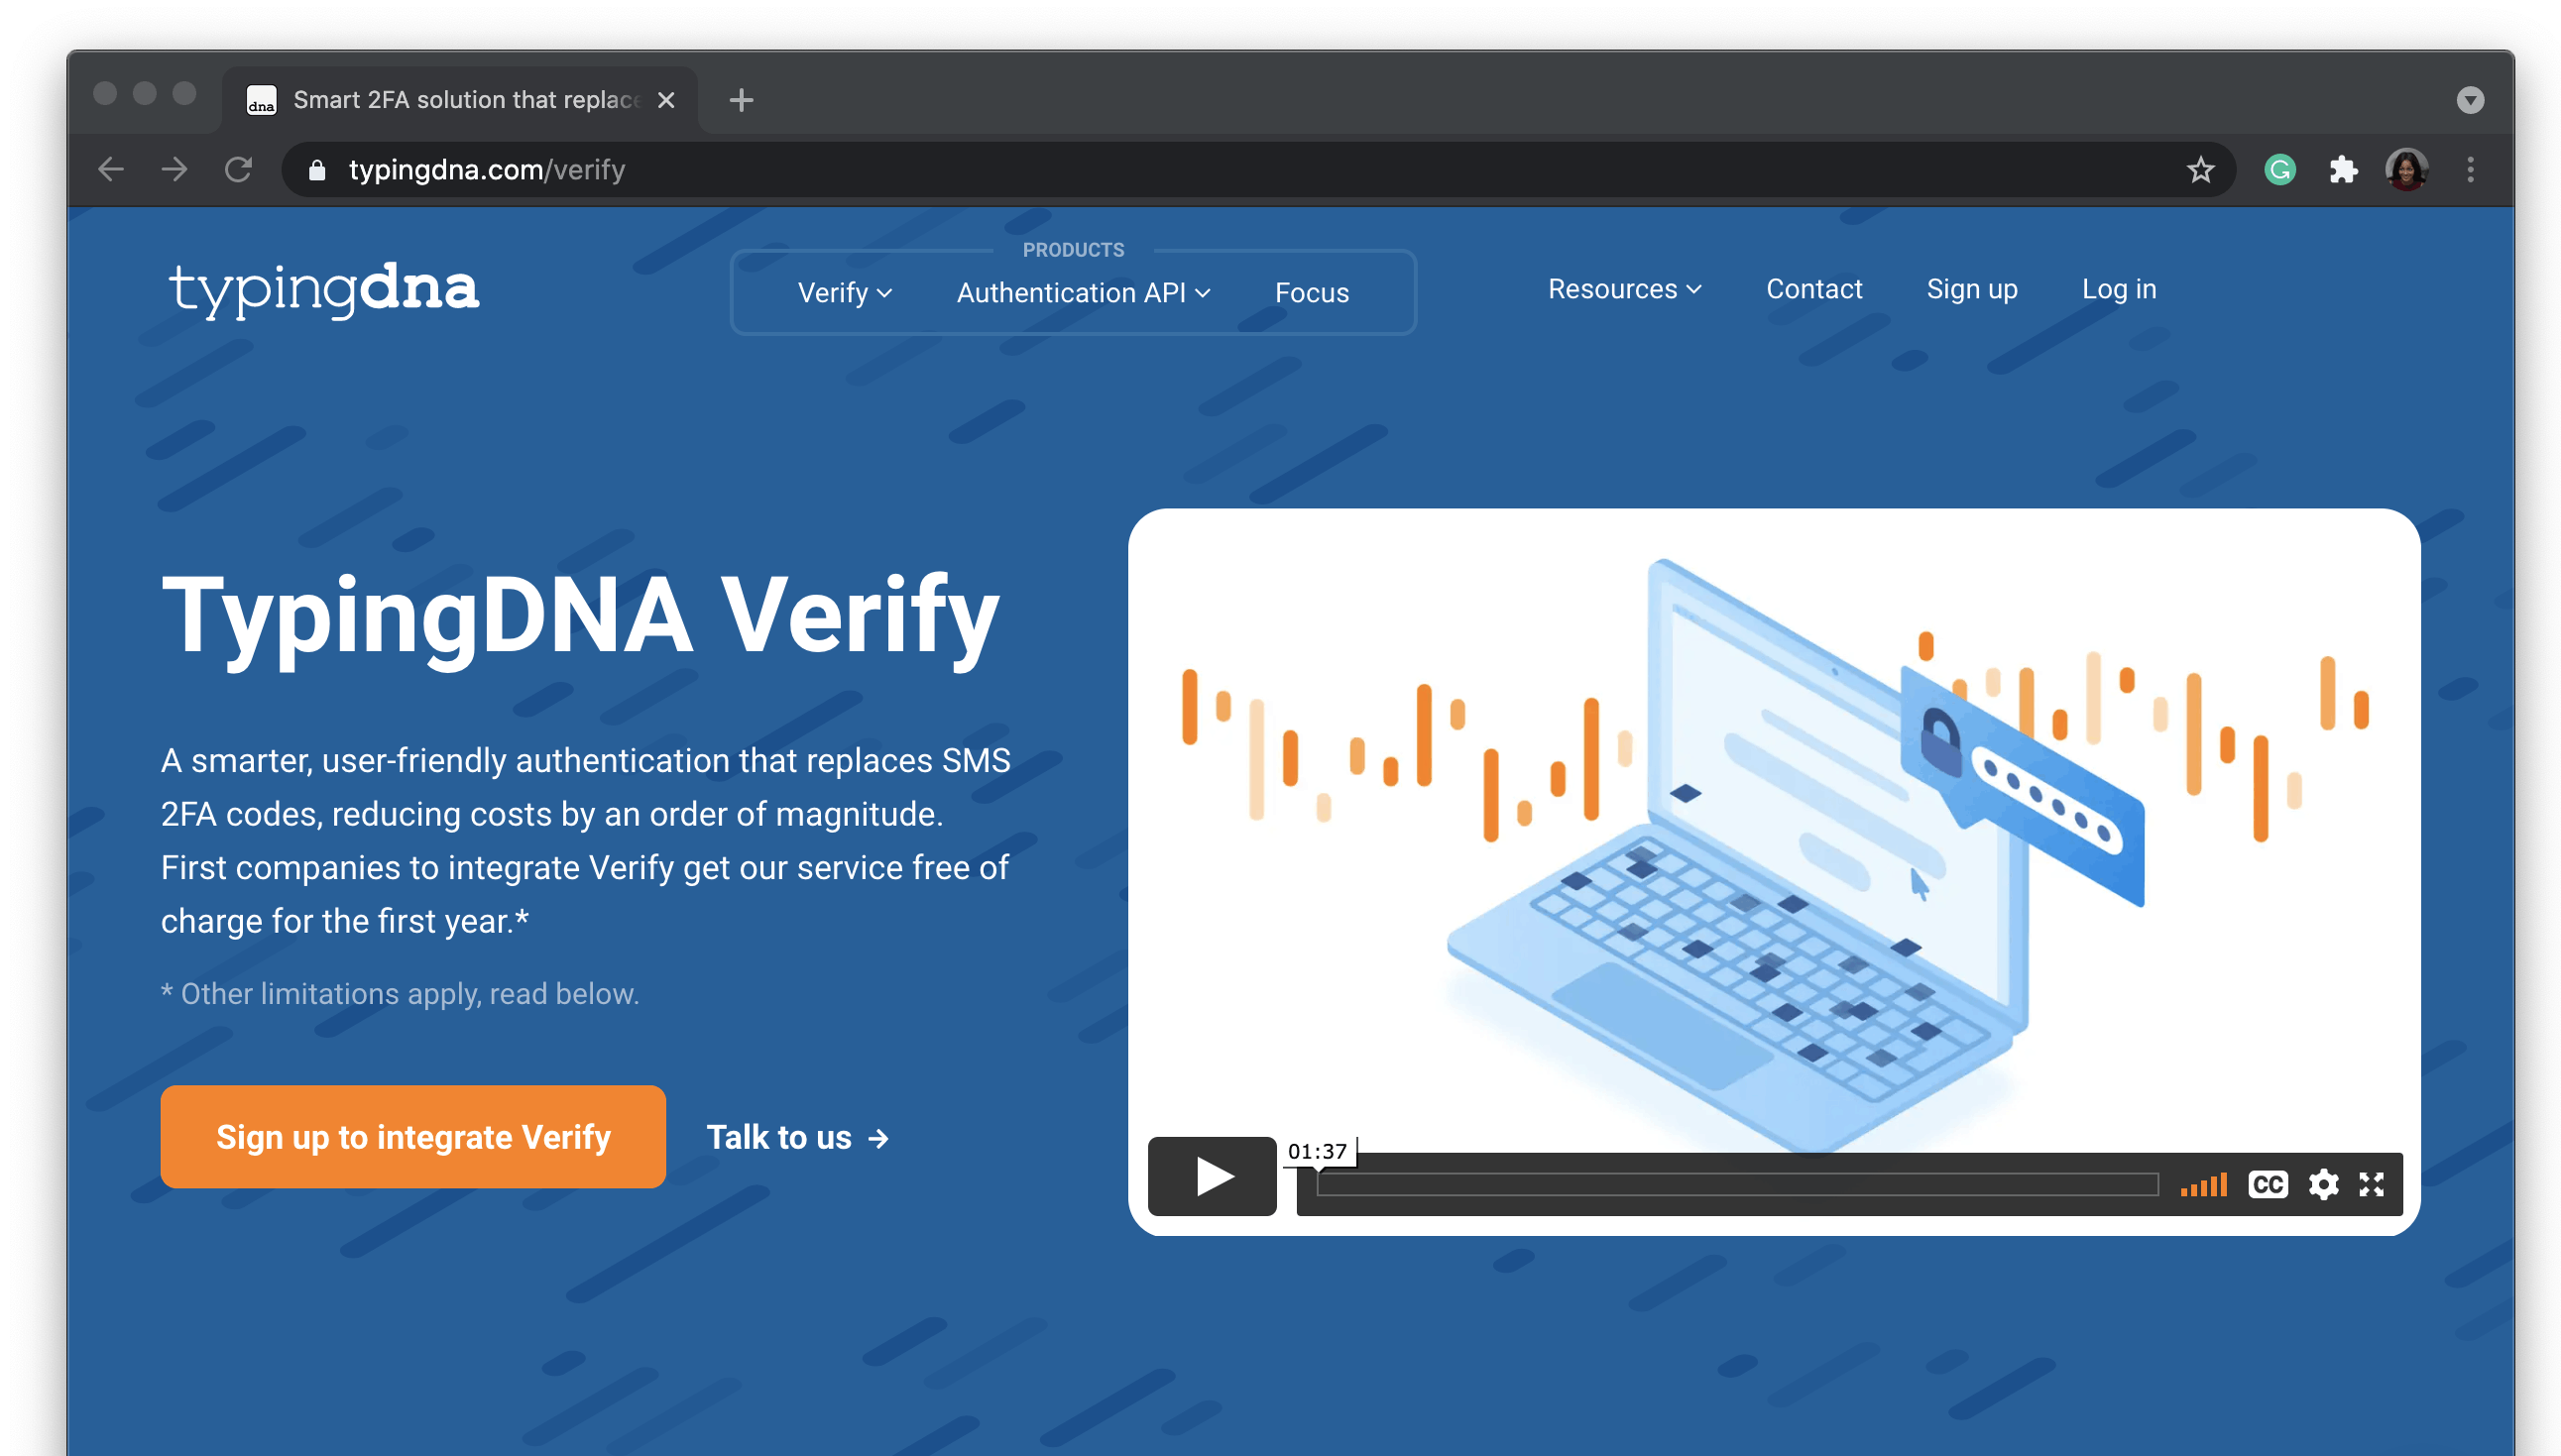
Sign up with Google or add your name, email, and password, then click on Continue to proceed.
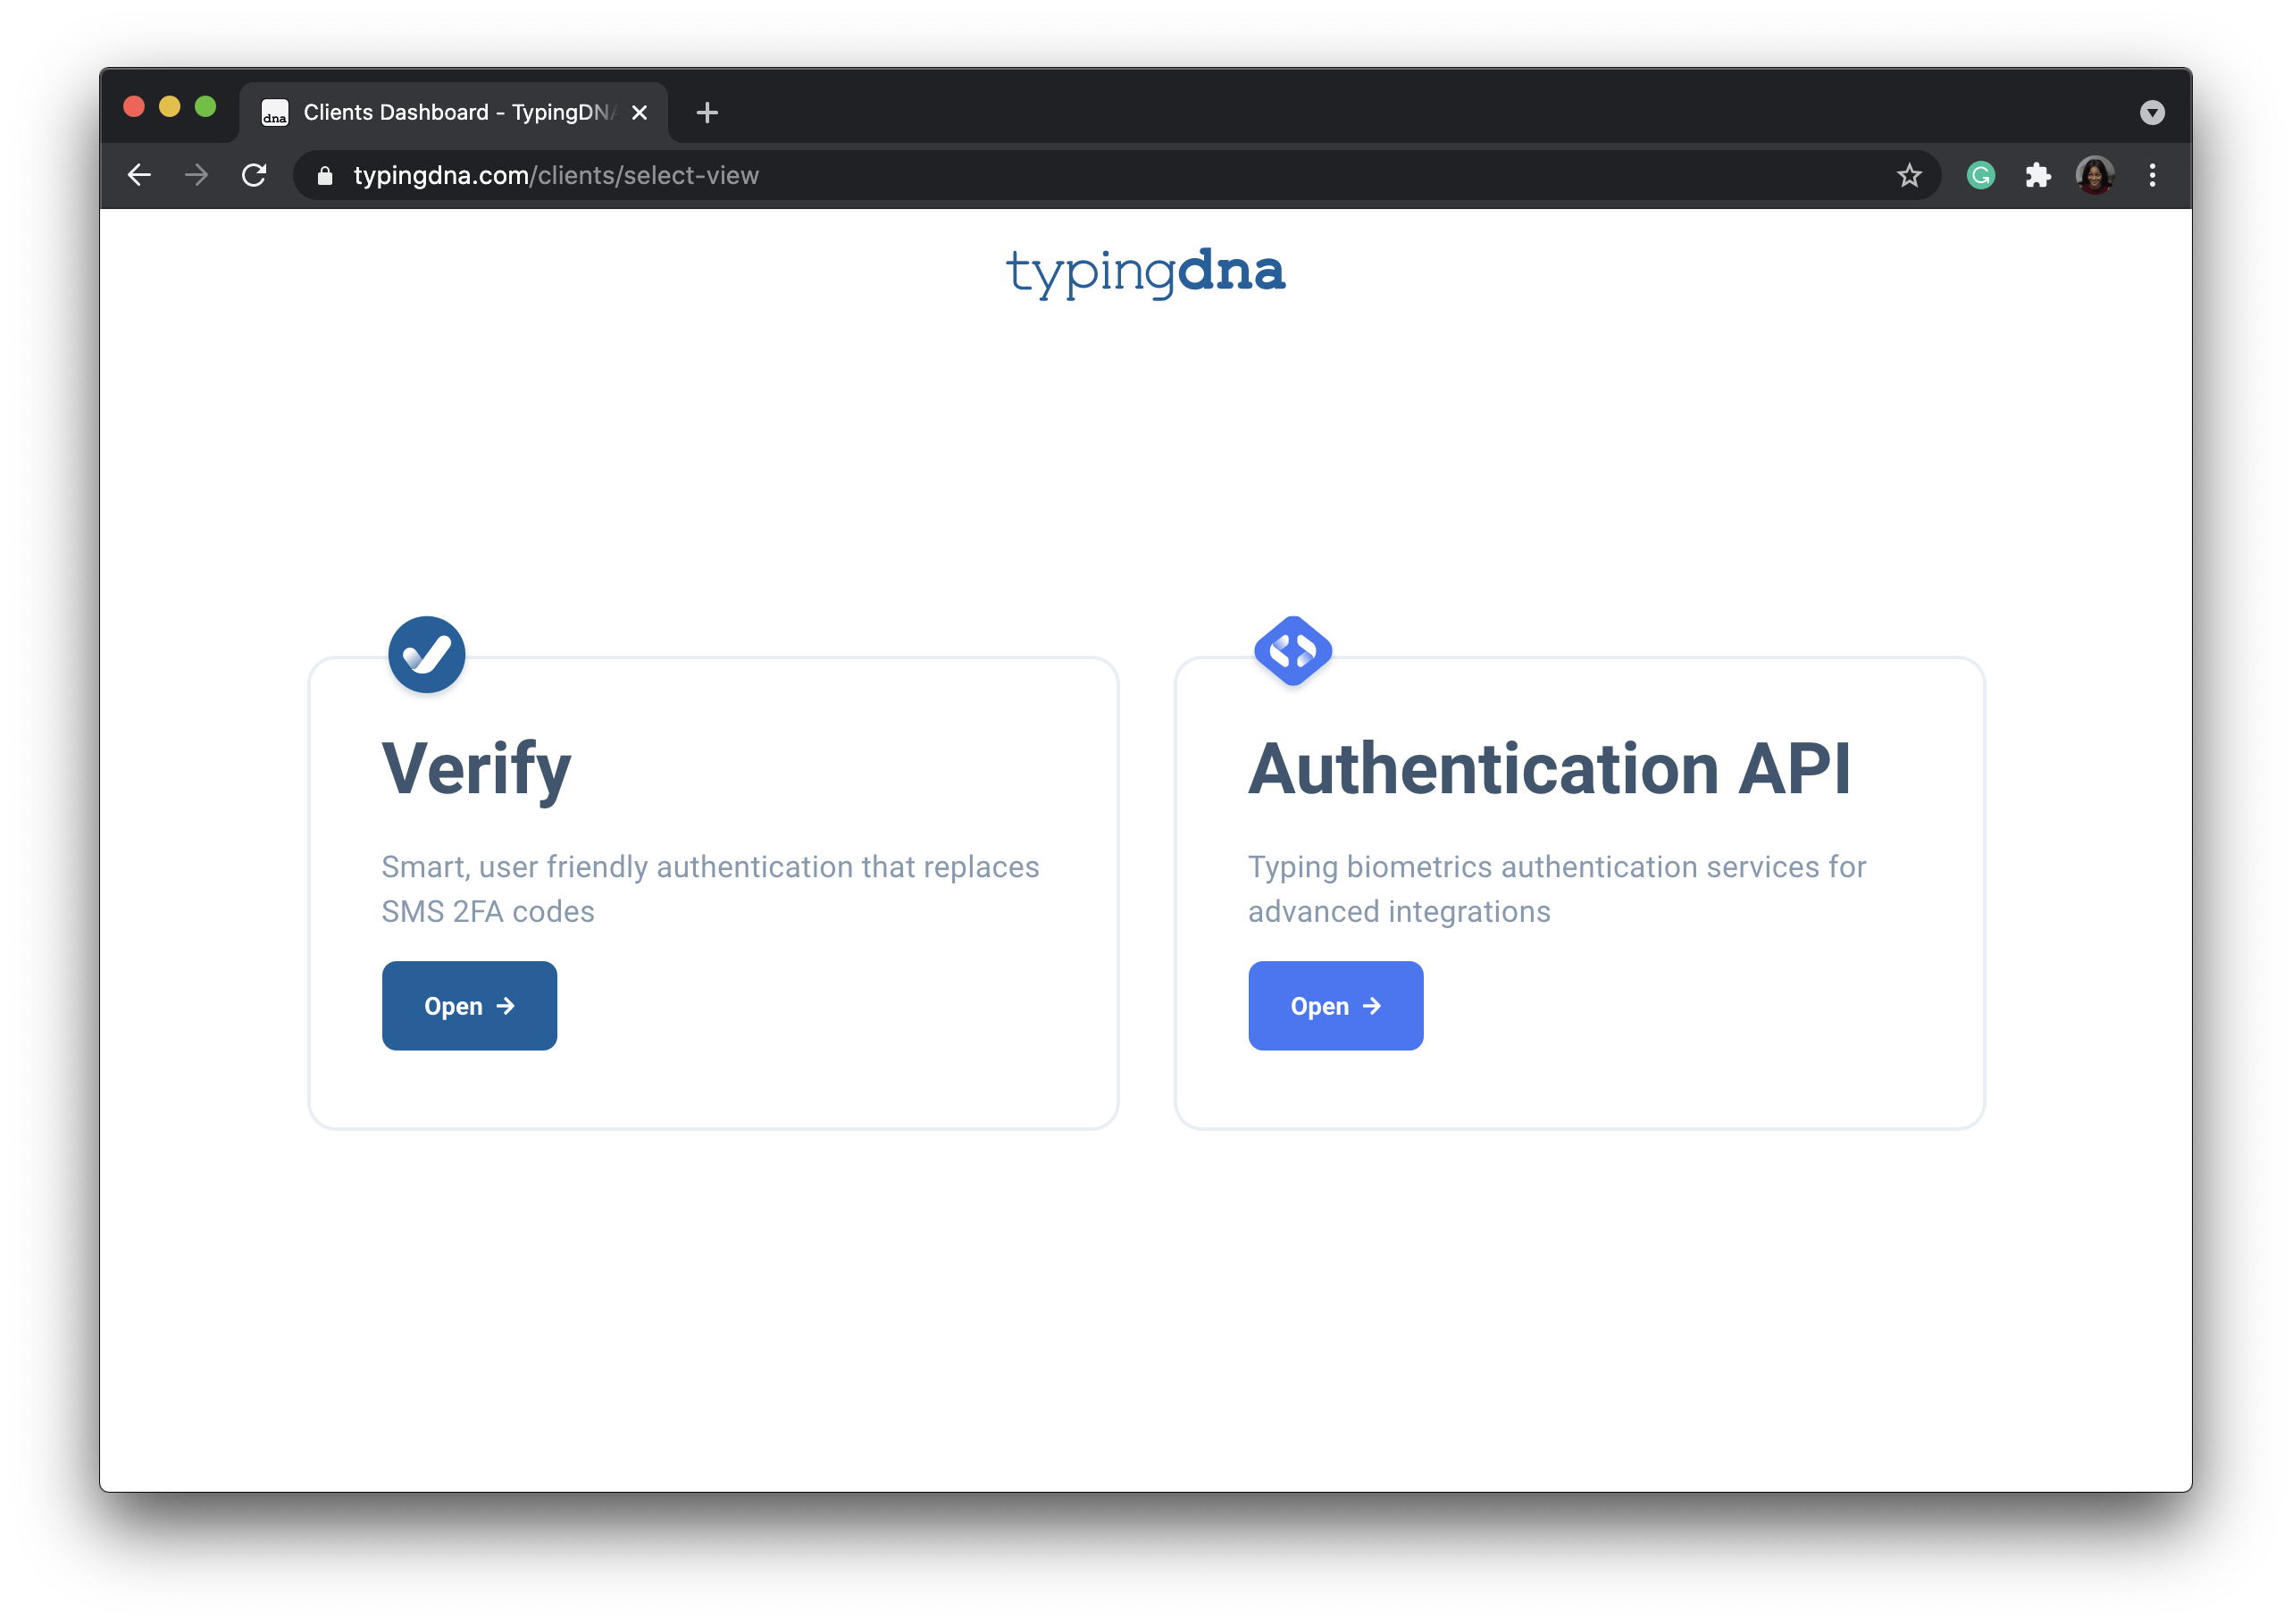
On the Client's page, you will be given an option to choose between Verify or the Authentication API. For the purpose of this tutorial, click on Verify to access your dashboard.
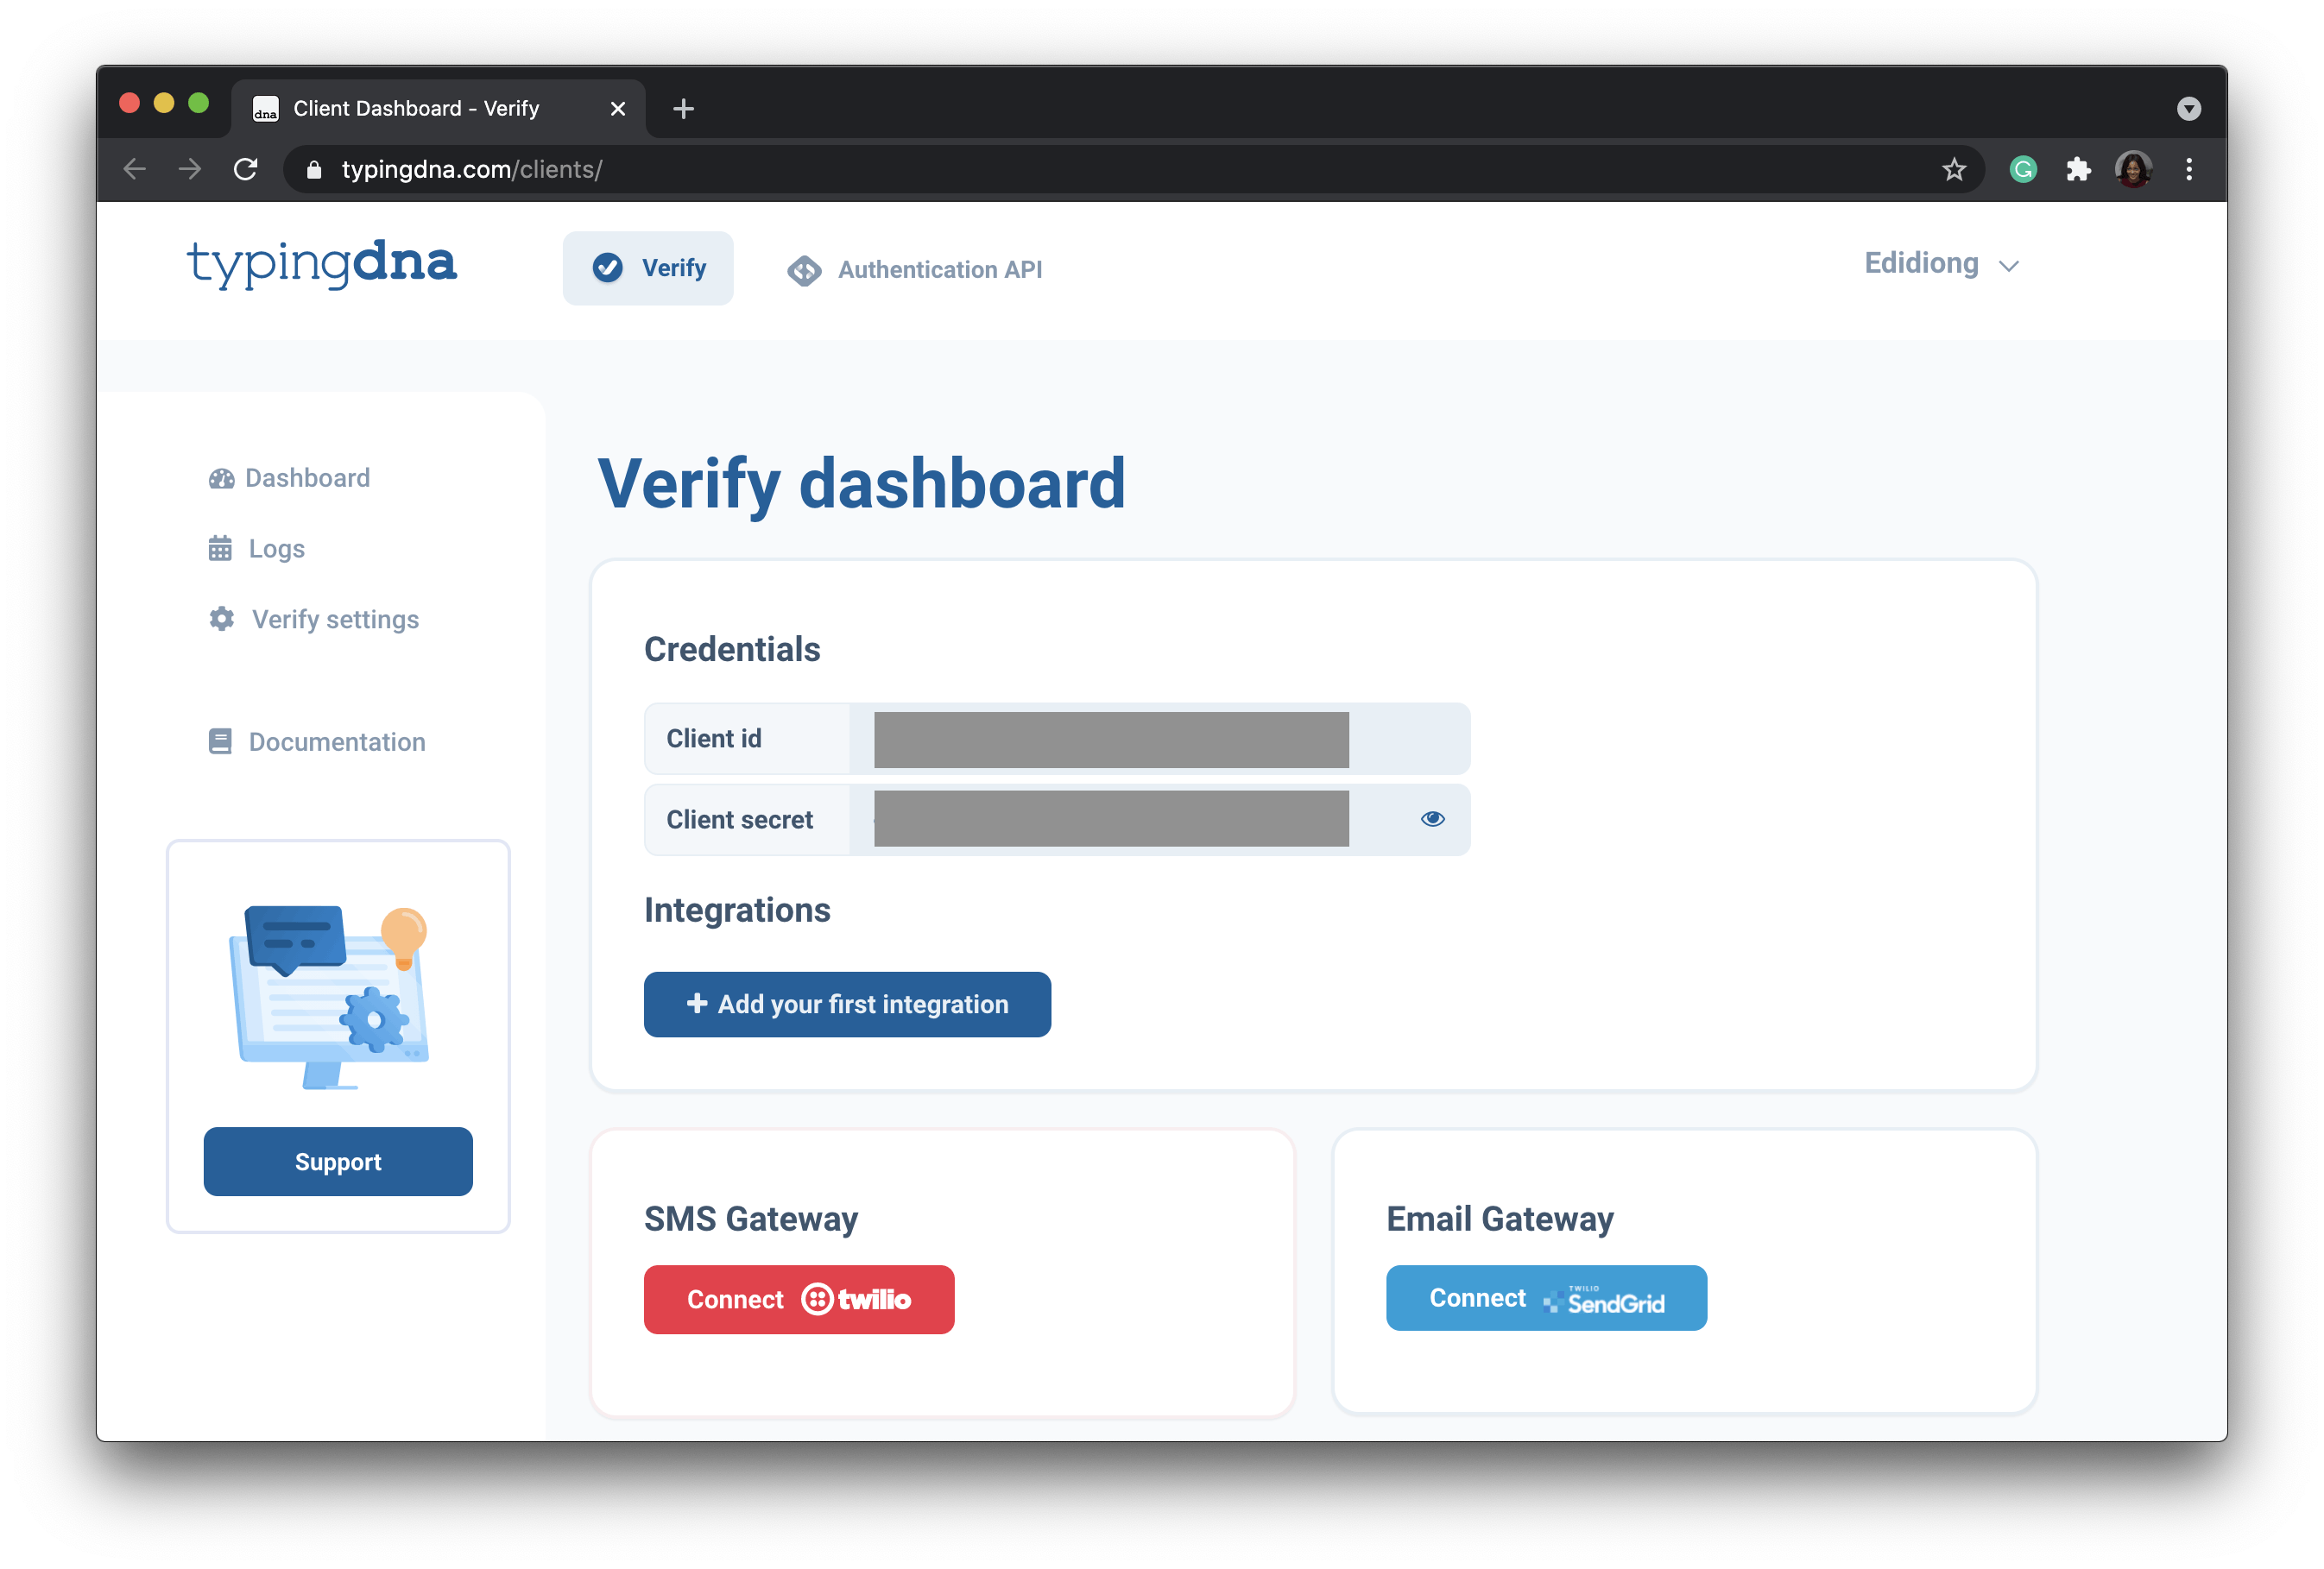
On your dashboard, you will see your Client ID and Secret, a demo of Verify, an option to set up your first integration and configure your account using any of the recommended connection providers.
Step 2: Configure your account
Below are the steps required within the dashboard to configure a Verify account before beginning the integration process:
In order to begin the integration process, you need to configure your account by connecting it to either your Twillo and SendGrid account.
Connecting to Twillo or SendGrid is important because they will be used on your behalf to send a verification code or SMS to your users. Without connecting to any of the aforementioned providers, an error message will be returned.
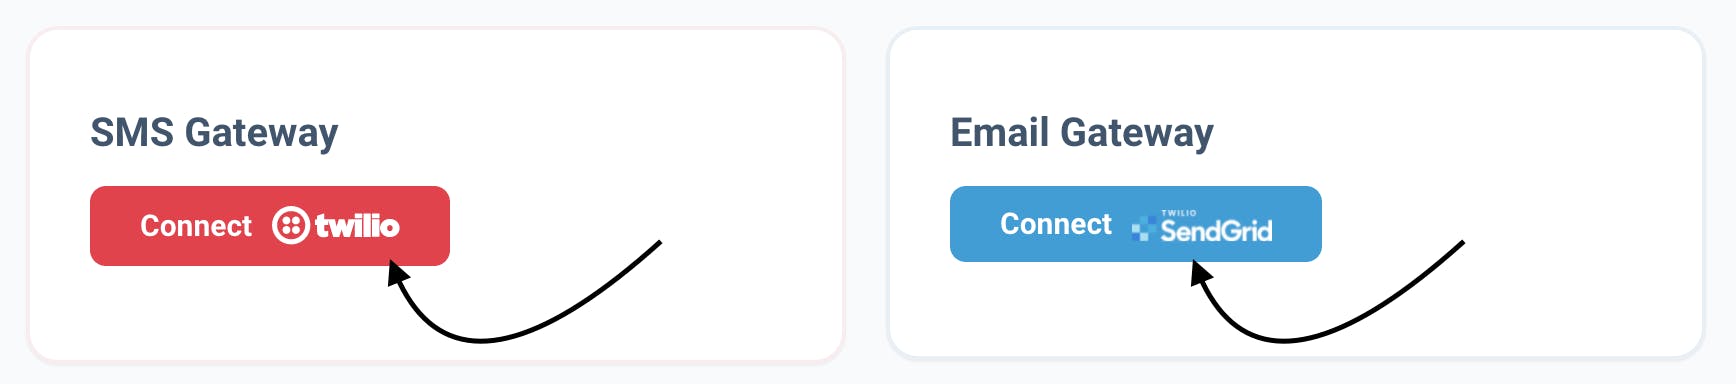
As the image above implies, click on Connect Twillo if you want your users to receive an SMS verification, then click on Connect SendGrid if you want your users to receive an email verification.
Configuring Twillo and/or Sendgrid serves has a fall-back option for your users. The default 2FA TypingDNA Verify provides is the typing biometrics. 😃
Step 3: Integrate TypingDNA Verify into a website
To kickstart the integration process, click on the Add your first integration button on your dashboard.

Add the name for your application and the domain URL associated with it, then click on the Create Integration button.
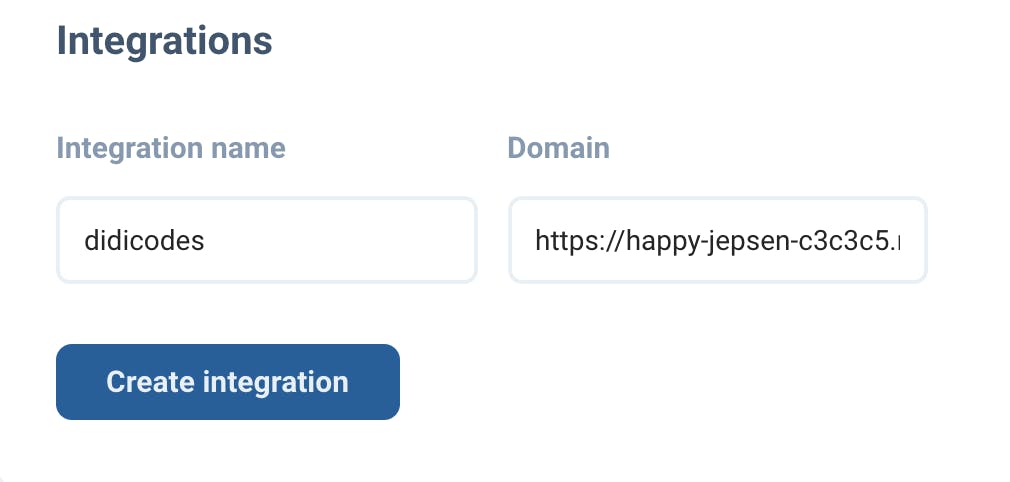
This information will be used to ensure proper and secure communication between the TypingDNA Verify window and your website.
Step 4: Integrate TypingDNA Verify into your codebase
After configuring your account and adding the domain URL of your website to your dashboard, the next thing you need to do is integrate TypingDNA Verify into the frontend and backend of that website.
Let's get our hands dirty with code! 👇🏽
a) Install the TypingDNA Verify client
The first thing you need to do is install the TypingDNA Verify client using the command below:
npm install typingdna-verify-client
b) Initialize the client
After typingdna-verify-client has been installed successfully, go to your backend code and initialize the client using the code below.
const typingDNAVerifyClient = new TypingDNAVerifyClient({
    clientId: "",
    applicationId: "",
    secret: ""
});
Replace the empty strings with the value of your clientId, applicationId, and secret available on your dashboard.
c) Add the script to your HTML
Now, add the TypingDNA Verify CDN below to your frontend code.
<script src = "https://cdn.typingdna.com/verify/typingdna-verify.js"></script>
This script renders the button which opens the TypingDNA Verify window.
d) Retrieve the users data
We need to call the getDataAttributes JavaScript method to pass the credentials and encrypted user data to the button element we are going to add in our frontend code in the next step.
So, go back to your backend code and paste the code below.
const typingDNADataAttributes = typingDNAVerifyClient.getDataAttributes({
    email,
    phoneNumber,
    language :  'en',
    mode : 'standard' // 'show_otp' alternatively
});
The language and mode are optional parameters, defaulting to ‘EN’ and ‘standard’ respectively.
e) Add a button element to your HTML
Finally, add a button element with a ‘typingdna-verify’ class and the data attributes that correspond to values of the TypingDNADataAttributes object explained above. This will be passed to the TypingDNA Verify window once the button is clicked by an end-user.
<button
      class = "typingdna-verify"
      data-typingdna-client-id= typingDNADataAttributes.clientId
      data-typingdna-application-id= typingDNADataAttributes.applicationId
      data-typingdna-payload= typingDNADataAttributes.payload
      data-typingdna-callback-fn= "callbackFn"> Verify with TypingDNA
</button>
If you followed the steps above correctly, your users should now be able to authenticate themselves using TypingDNA Verify.
Demo 👨💻 👩💻
You can play around with the demo here to get a better understanding of how TypingDNA Verify works and let me know what you think in the comment section.
Conclusion
I believe TypingDNA Verify has a lot of potentials and could be the next big thing in the Two-factor authentication space. So, I'd recommend you give it a try now it is still free for a year.
Want to learn more about how TypingDNA Verify works? You can access code snippets, demos, and more by visiting their official documentation.
I hope you enjoyed reading this article. If you have any questions, share them in the comment section below, and I'll reply to every comment. 💛